Users and Rooms - Add Users and Set Up Scheduler Rooms
To add new users or rooms, go to: Settings > Clinic > Users & Rooms. *Note: You must have Administrator credentials to add or manage users and rooms.
At the top of this screen, you’ll see two tabs:
- Users- This is where you add/manage staff members who can log in to your clinic system.
- Rooms- Used for scheduling and/or front desk workflow. *If your clinic prefers scheduling patients to a room rather than a provider (especially for unattended services such as Decompression) then the Rooms setup is a great option!

Create Users
First, go to: Settings > Clinic > Users & Rooms
- On the Users tab, hover on the action button (blue round button at the bottom right of the screen):

- Select the + "New User"

- Choose an Access Type for this user
- Each access type has specific areas of the software the user can access. The linked chart will show which features can be accessed: Access Types

- Once you have selected the Access Type, you can also determine the user's role. The 'role' is for internal purposes only and does not control the user's access within the software.

- Complete all Required fields (marked with a red asterisk)
- Email: Enter the user’s individual unique email address. This is used for password resets and clinic notifications (configured at the bottom of the screen).
- NEW 03/2026: Unique Email Addresses per ChiroSpring User Account
- NPI: 9999999999 is automatically added for every user. Replace this with the provider’s individual NPI if applicable.
- Email: Enter the user’s individual unique email address. This is used for password resets and clinic notifications (configured at the bottom of the screen).
- Additional Settings:
- If you want this user to be on the Scheduler, toggle on "Active on Scheduler" and "Scheduler Header".
- If you will allow patients to schedule Online, toggle on "Online Appointments Provider"
- Order #: Determines the user’s display order on the scheduler (e.g., first, second, third).
- Max Appts/Timeslot: Controls whether multiple appointments can be booked in the same time slot for this provider.
- If you want this user to be on the Scheduler, toggle on "Active on Scheduler" and "Scheduler Header".

- Set the User ID and Password - Keep in mind, both are case sensitive.
- SAVE the user account

Providers - Signature & Sign Treatment Notes
Provider Users have the option of enabling their signature credentials. Type your designed signature into this field and a digital signature will be added to your treatment notes when they are signed.

*Follow the steps here to ensure you have the ability to sign treatment notes.
Create Rooms
First, go to: Settings > Clinic > Users & Rooms
- In the Rooms tab, use the blue Action button at the bottom right to add a new room
- Name the Room
- Set the room to appear on the Scheduler and/or the Front Desk (if you will be scheduling to rooms, and/or only using the rooms for check-in purposes)

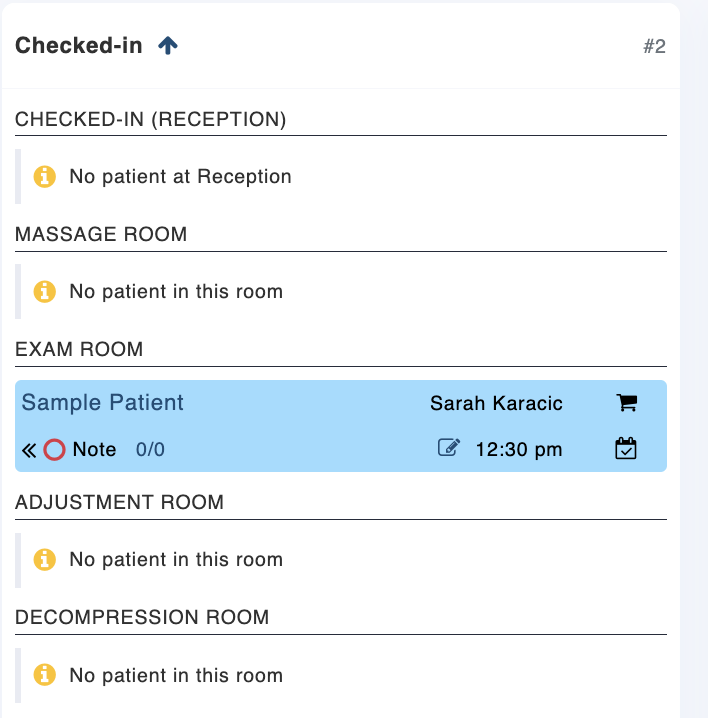
For rooms to appear on Front Desk toggle "Enable on the Front Desk Flow" on. Below is an example of a Front Desk with some rooms created and set to show on Front Desk Flow.