Insurance Verification & Checkout: Managing Patient Member Responsibility (PMR)
Accurate Patient Member Responsibility (PMR) starts with proper insurance verification and ends with confident checkout collection.
This guide walks through:
- Customizing PMR at the patient level
- Using PMR at checkout
- Understanding the Insurance Verification screen
- Using Instant Eligibility Verification
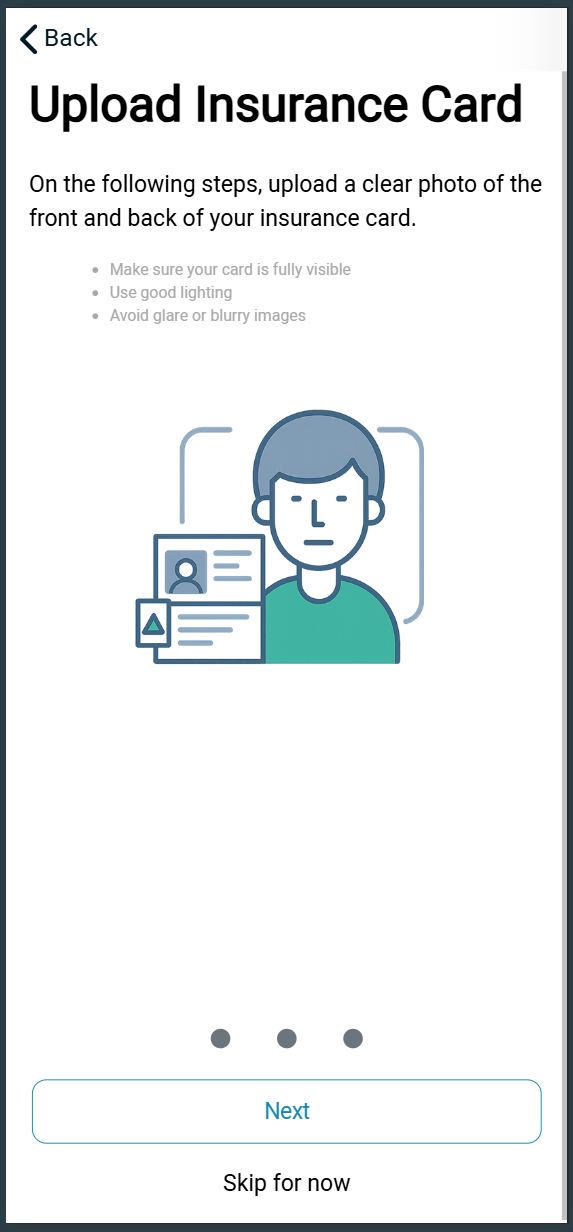
- Uploading insurance card images
When set up correctly, this process ensures you collect the correct patient amount at time of service instead of sending statements and hoping for miracles.
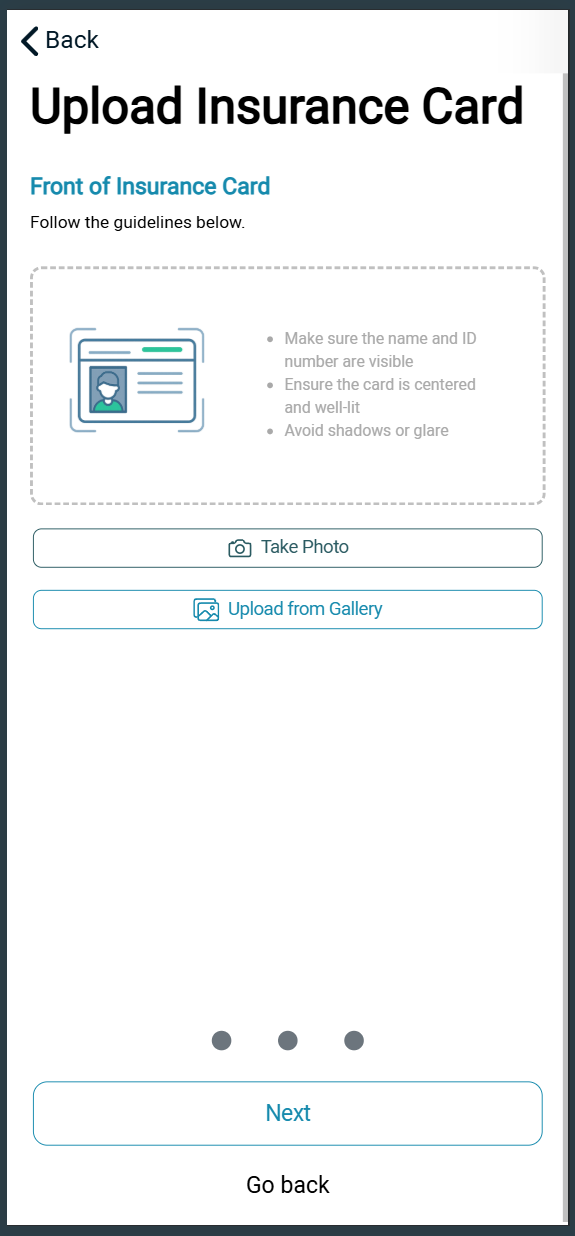
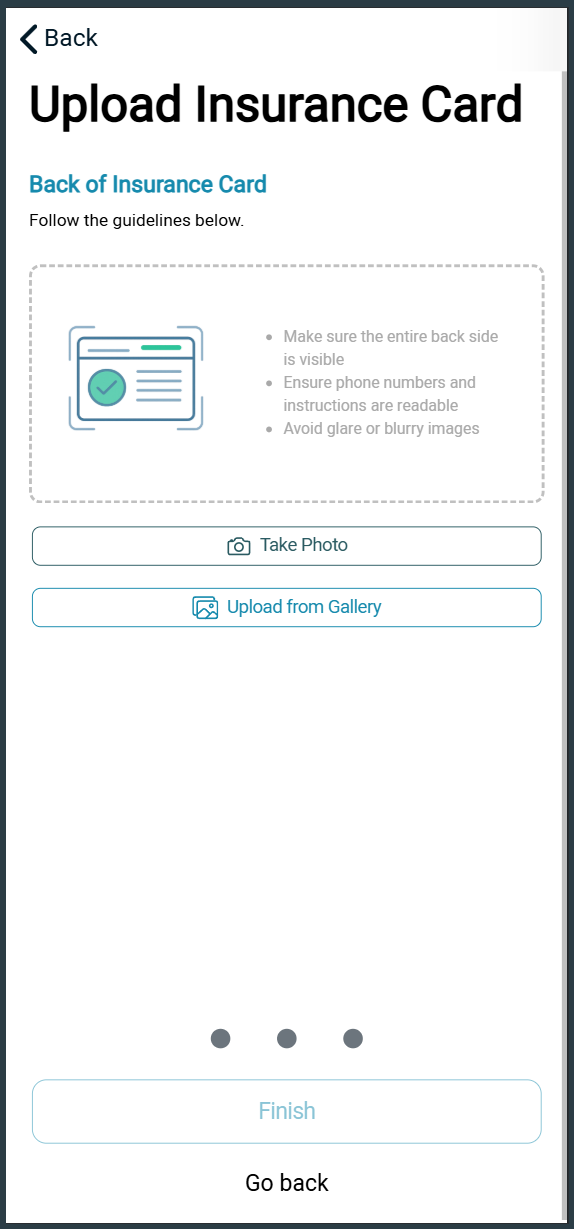
Upload Insurance Card Image to Patient File
Keeping a digital copy of the patient’s insurance card prevents claim delays caused by data entry errors. With ChiroSpring 360 you can
- Get the card from patient and scan/upload into system manually
- Using the Patient Mobile App, patients can upload their insurance card front and back
Option 1: Your office does it
To upload an insurance card image:
-
Navigate to Patient Dropdown Menu: Documents

On the left-hand side go to "Patient ID Card" folder > "Add New Document"

Click to select files

Choose file from your computer that contains the patient ID card & upload.
Option 2: Patient uploads through mobile app
Patients can now upload their insurance card directly in the Patient App, helping your team collect insurance information before the visit and reduce manual entry at check-in.
The front/back image will load automatically to the Patient File - Documents - Patient ID card

Add Patient Insurance Profile
Add your Patient's Payor profiles to their account in Patient File - Insured Information - Add First Insured
Insured Information - 27 February 2026 - Watch Video

Instant Eligibility Verification (Clearinghouse Users)
For those who are using ChiroSpring Clearinghouse you have access to Instant Eligibility Verification with 100 included per month and 20 cents per after. With a single click you can see the patient's full benefit details. From there, enter copay, coinsurance, deductible to ensure PMR calculates accurate patient owes total.
VIDEO DEMO
After entering patient information on the Insured’s Info screen:
- Click the eye icon to review details
- Click the Instant Eligibility icon under Insurance Verification
- Confirm submission
Within seconds, the full response is returned.
To review previously fetched benefits without submitting a new request, use the “previous response” option.


Below we will discuss what each section is used for on the Insurance Verification screen.
Record Details
- Streamlined record creation and editing
- Quick access to policy details

Benefits:
- Summary of coverage benefits
- Instant access to policy highlights

Chiropractic-Specific Benefits:
- Enable or disable Chiropractic-specific benefits
- Customization for specialized care

Therapy-Specific Benefits:
- Enable or disable Therapy-specific benefits
- Customization for specialized therapy services

Additional Fields:
These fields are not used to calculate PMR or for tracking purposes.

Customization Settings
- Practice-wide customization settings
- Enable or disable Chiropractic benefits for the entire practice
- Enable or disable Physical Therapy benefits for the entire practice
